Introduce
This article introduces the process of using Typora and PicGo to edit Markdown documents and upload images to GitHub. The specific steps are as follows:
- Download Typora
- Create a new GitHub repository: To upload images, you need to create a new repository on GitHub.
- Generate a token: Access the GitHub token generation page, and generate a token for PicGo.
- Download PicGo: PicGo is a tool for uploading images and getting URL links.
- Configure PicGo: Configure PicGo, set parameters such as the repository name and branch to ensure that uploaded images are stored on GitHub.
- Configure Typora: In Typora’s preferences, configure the image upload options, and test the upload function to ensure that it is set up correctly.
Download Typora
Here’s the version I use. I use Typora to edit my markdown documents.

Create a new Github repository to upload pictures
Generate a token for PicGo to manipulate your repository
Access https://github.com/settings/tokens and click Generate token.
Note: This token will only be displayed once after it is generated. You’ll want to make a copy of this token and save it somewhere else in case you want to use it later.
Download Pico
PicGo is a tool for quickly uploading images and getting URL links to them.
Github: https://github.com/Molunerfinn/PicGo?tab=readme-ov-file
Documents: https://picgo.github.io/PicGo-Core-Doc/
Configuring PicGo

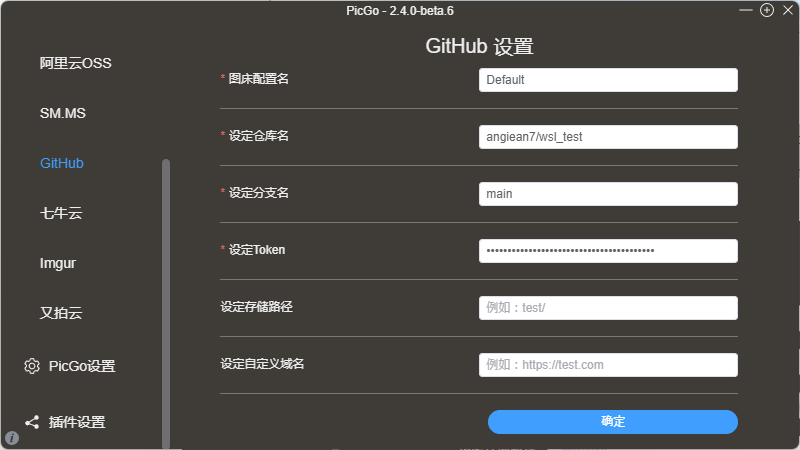
Note: The format of the repository name is username/repository
For example, if I create a repository called test, the repository name I want to set in PicGo is Molunerfinn/test.
Usually we just select the main branch. Then remember to click OK to take effect, and then you can click Set as Default Beds to make sure the uploaded bed is GitHub.
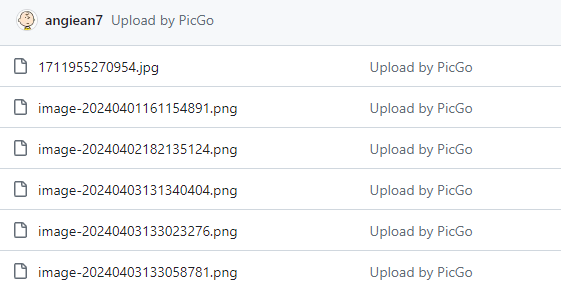
At this point the configuration is complete and it’s ready to use. When you upload by PicGo, you’ll notice that new images will be added to your repository as well.
Configure Typora
Click on the Preferences option for Typora, then select Image and configure the options for the following image:
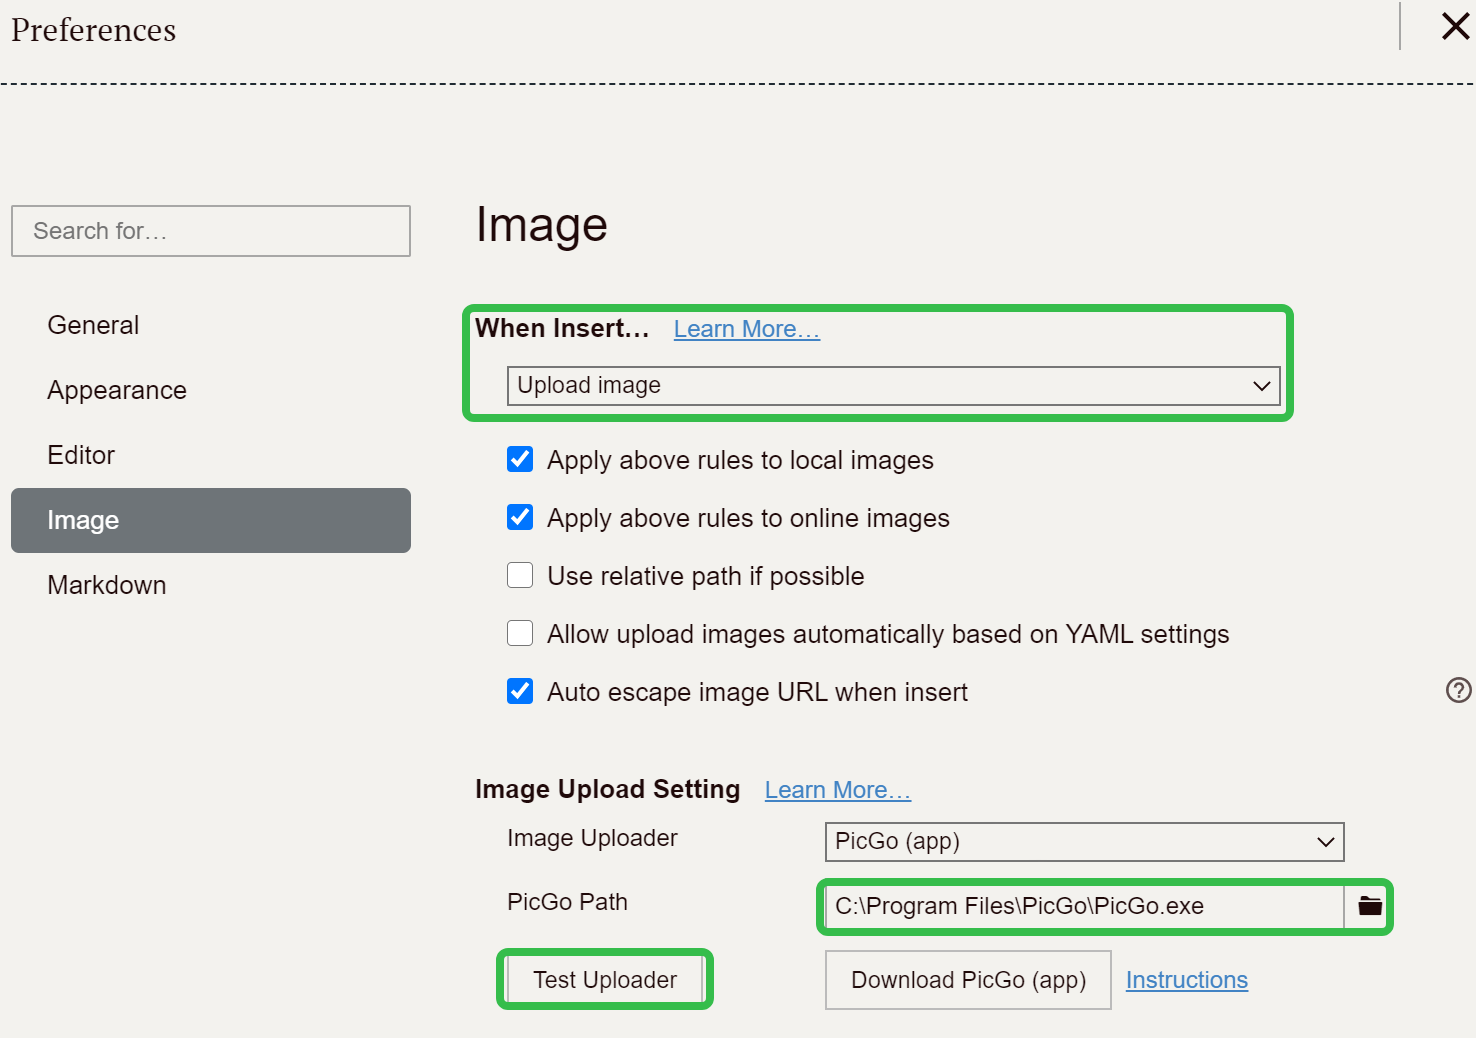
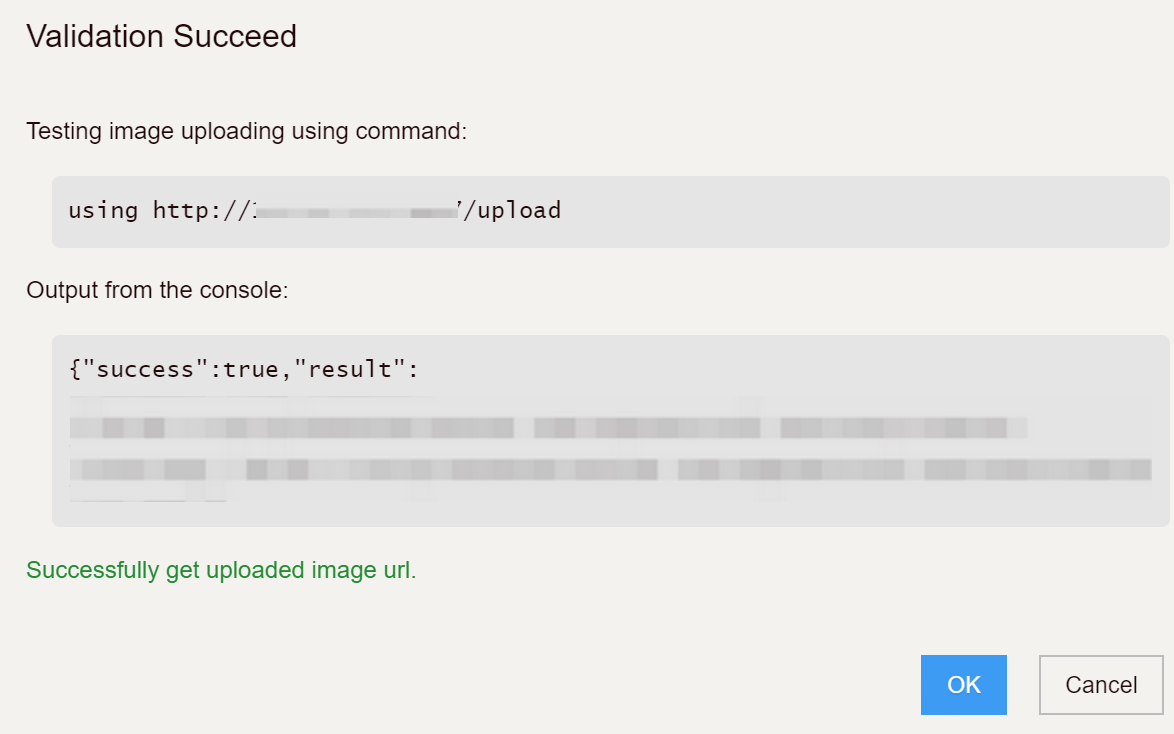
And click Test Uploader button, If you see the successful result in the image below, it means that you can automatically upload the image and convert it to a link by pasting the image into the edit box when using Typora.